|
Tessellation to me means basically a lot of reflections of another image, the simple way to create this is having the basics by having you image that you are using and a blank photoshop page. So you drag from each line of the edge and drag it out to the middle depending what size you want your tessellation after you proceed to cut a piece of you image that you will be using to create your image. from there you just start rotating horizontal and merging layer and duplicating the layers to fill it in.I liked about this how you can almost create anything you want, as your imagination pleases. I think my favorite image was the very first one, I just like the vibrant color. I struggled with the most trying to line up the images. If i were to do it again I would get better colored pictures and line them up better.
0 Comments
1. What did you learn about portraiture from going to the duck pond?
I learned how people actually make the faces seem a lot brighter than an actual regular everyday photo. 2. What is the thing that you used to decide on your poses? Was it helpful or no? I mostly chose natural poses for the model to do, this way it gave a natural feeling and much easier. 3. How did you use the reflector? Was it useful or not? What did it make the model look like? I used the reflector at all times and it became a very useful tool, made the image much clearer and better 4. What specifically did you do to retouch the photographs? Ii mostly used all the tools to make the skin as clear as I could to make it a clean image 5. Research- what are some positions that use portrait photography? Who hires them? What is the salary range? What is the average charge for taking someone's portrait photographs? There is many positions that use portrait photography, people that might get hired for the job is famous people or people that have a big event coming up. The salary may vary but usually annually they will get up to on average $31,710 per year. 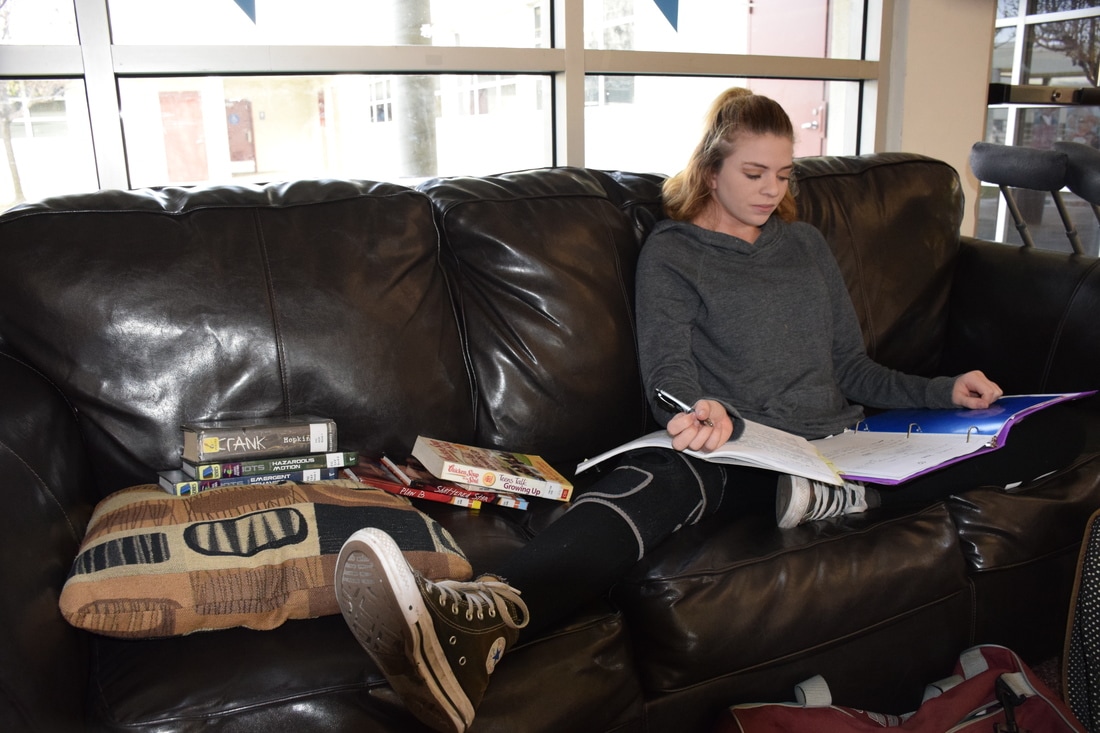 American Dream, what is the American dream? It is a depiction of a way of life in which it can be defined in many different scenarios but for some the only way to make this a reality is education. Education for some may be the only way they can choose the path to their life. Even if you are injured, busy, or have a challenge in your life, you try to get your education because it will all be worth it in the end.
With education you will have no limits to be whomever you want and achieve the dream. It has to come to our attention that the dream can become a reality if you just work hard. The reason why I chose this picture it is because you can see the perfect natural moment that even if she is injured she is still trying to get her education. I can relate to this as a student because as one I believe that is every persons goal and we will try to achieve that by no means necessary. 1. What did you bring for your food? What did you use for props to make it special?
I brought a protein bar with pea`nut butter. for the props what I used was a spoon and the jar of peanut butter. 2. What are five things you learned from the food photography video and presentation about food photography that you didn't know before? Be specific. Things I learned were how people make food look so good, how they use backgrounds, how 3. What did you do to make your photograph look similar to the professional food photography shots? I tried to et the pictures at a good angle to be able to imitate the image. 4. What are three things you learned from doing the food photography project that you may not have known before or done before from taking the photographs? Be specific. I learned how to make your food look tasty. 5. What are some careers or businesses that use food photography? Advertisments use these to show their product. 6. What do you think you were successful in doing with the food photography? Is this something you would do again? Why or why not? I think I was sucessful in showing my point. I would definetly do it again If i could 10x better 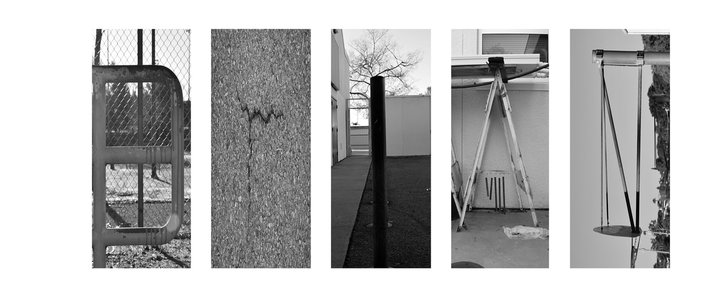 1. What steps you did in Photoshop to create your project- be clear and concise and don't copy/paste from this website/ use your own words!
After I took the pictures I uploaded the photographs and changed the effect/color to B&W, After I went to finder to look for the layout in the periods, after I uploaded the pictures on to to the layout. then I started to fit in the pictures into the layout all 5 of them and just saved it into clas room. 2. What steps were you unclear on and struggled with (both in taking photos and in Photoshop)I struggled to make the letter fit into the layout. 3. What steps you were proud of figuring out I was proud of knowing how to crop and change the color on the photos. 4. What you like best about your artwork I like the outcome of the photos, how you can actually see my name and distinguish it. 5. What you think you could have improved about your artwork I think I need to improve on making better letters or finding better forms. 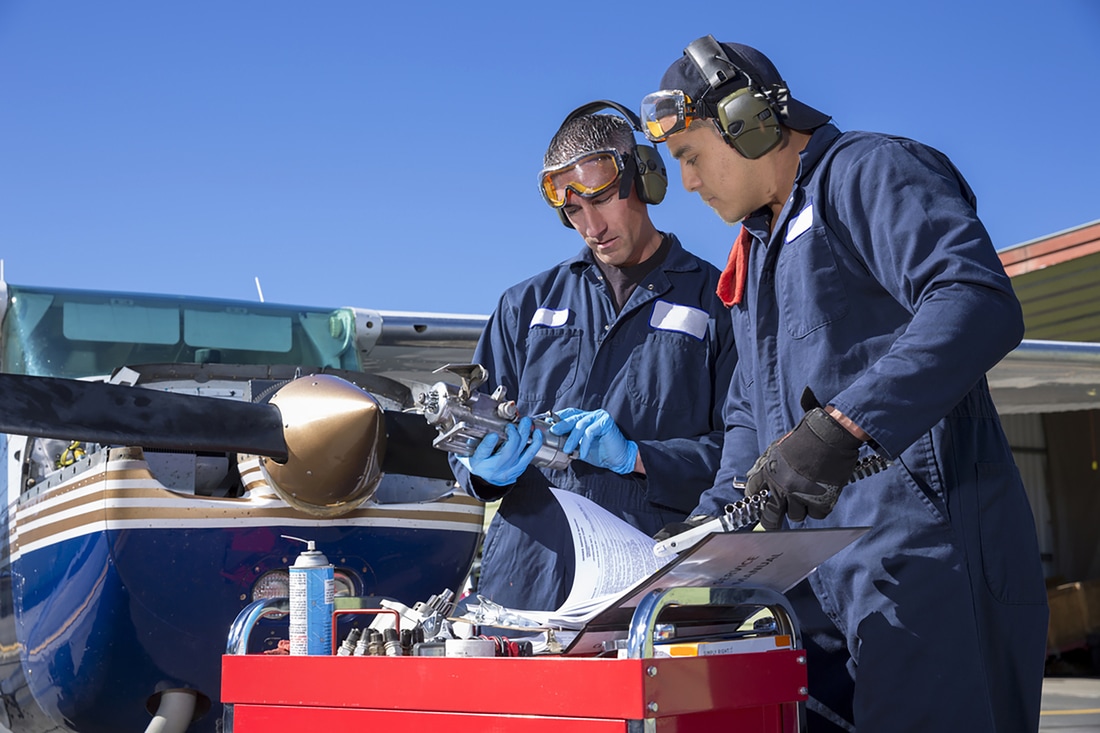 In 10 years I see myself working as an aerospace engineer, at moment I am working on an engine of an airplane. Basically something I worked so much to do. By this time I will be done with 5 years of college for my career. Trying to make a name or reputation of my self, setting the next goal of working for NASA 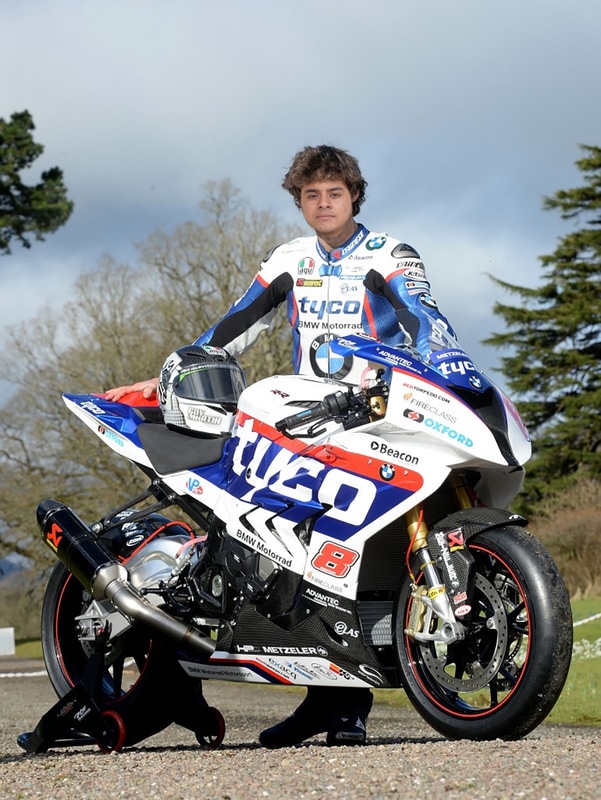 I chose Guy Martin as my celebrity because he rides motorcycles for a living and is his passion . He is a british motorcycle racer that races in the isle of man tt. At the moment as my self in the picture I am racing around the world. on a BMW s1000RR. I am posing for the races I am about to do. Steps to doing the layer mask were... 1. you download your two pictures you are using one from google. 2. you upload your photo on photoshop making sure that the resolution for the photos are 300 of resolution. 3. you move the headshot of yourself on to the image you want to crop it into by dragging it into it. 4.you use the lasso to crop the headshot, after you use the move tool to drag it out and fix it. 5. you changed the opacity percentage to about 60 6.you fix it into position by EDIT> TRANSFORM > FLIP HORIZONTAL. 7. Then by doing the same steps you can change the scale or rotate to change the degree 8. After you have fixed and matched the headshot you change the opacity back to a 100% 9. you scroll to the bottom right an pick the blank layer 10. you choose the brush and basically crop out other unnecessary parts of the headshot. 11. Once you are happy with how it looks you go to layers and merge visible. 12. after you save your work as lastname-firstname-layers-exercise.jpg on to a folder of your liking |
Author
|
 RSS Feed
